So you have been assigned to develop a new feature, where you need to show a list of some data. I am sure you that you would think about RecyclerView to implement, Right? Then this post is for you.
What will we learn?
We will create RecyclerView that actually shows data, Exactly what it was given to you by design team.
- Before Backend guy hits you with API.
- Without even mocking API
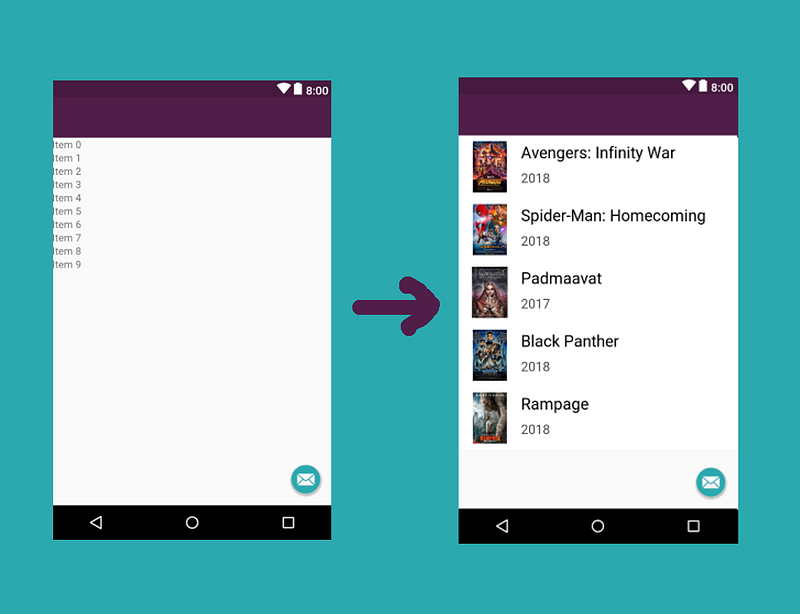
Let’s see how actually will it look like.
So to create this, I assume that you have already included RecyclerView in your activity so that it looks just exactly like left screenshot.
Step 1: Prepare RecyclerView
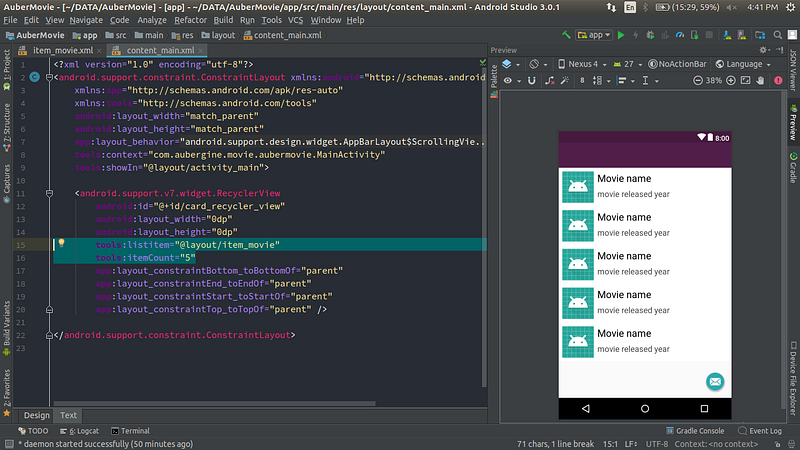
Just add tools:listitem and tools:itemCount attribute to RecyclerView like this.
<android.support.v7.widget.RecyclerView
    android:id="@+id/card_recycler_view"
    android:layout_width="0dp"
    android:layout_height="0dp"
    tools_listitem="@layout/item_movie"
    tools_itemCount="5"
    app:layout_constraintBottom_toBottomOf="parent"
    app:layout_constraintEnd_toEndOf="parent"
    app:layout_constraintStart_toStartOf="parent"
    app:layout_constraintTop_toTopOf="parent" />
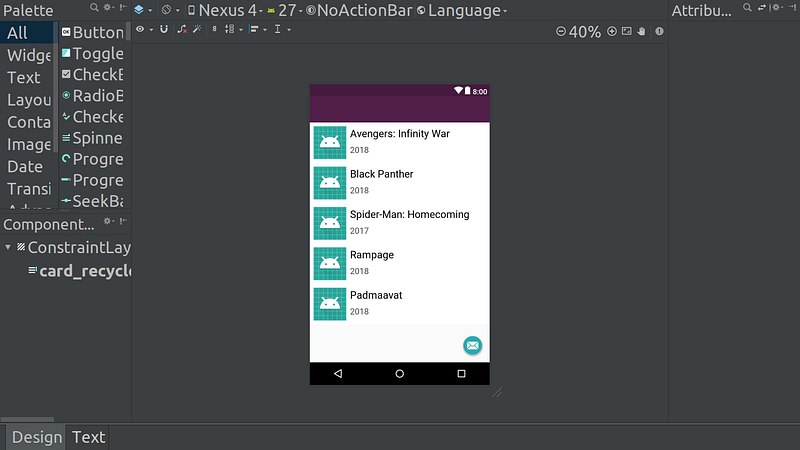
where tools:listitem=”@layout/item_movie” refers to the item layout and tools:itemCount=”5″ indicates to display 5 items on the screen and hence we get output like this.
Step 2: Fill item layout with dummy data
So we have a list of items. Now we will populate these items with dummy data of movies. We will first create dummy movie names.
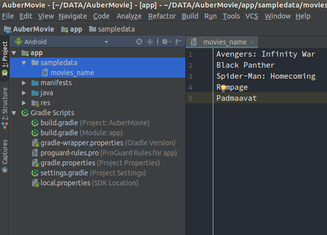
To do that right click app -> new -> Sample Data directory. Give it a name as sampledata.
Create new Text file under that sampledata and give it a name as movies_name and fill it with some movie name.
Now refer this sample file that we have just created in item_movie.xml in TextView where we suppose to display movie name like this.
<TextView
    android:id="@+id/textView"
    android:layout_width="0dp"
    android:layout_height="wrap_content"
    tools:text="@sample/movies_name"/>
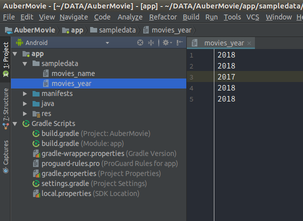
Now follow the same approach to fill movie released year.
<TextView
    android:id="@+id/textView2"
    android:layout_width="0dp"
    android:layout_height="wrap_content"
    tools:text="@sample/movies_year"/>
Finally, we will get to see something like this.
Step 3: Fill item layout with dummy images
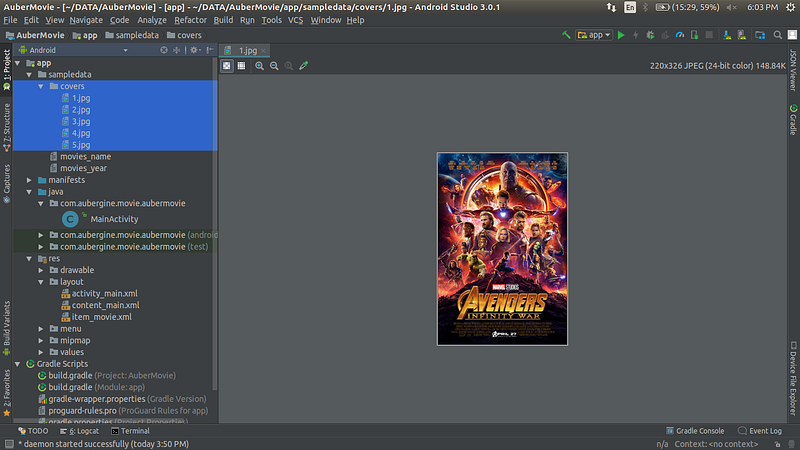
Create a new folder inside sampledata as covers and put all image poster over there.
And refer this image directory in imageView inside item_movie.xml like this.
<ImageView
    android:id="@+id/imageView"
    android:layout_width="70dp"
    android:layout_height="70dp"
    tools:src="@sample/covers"/>
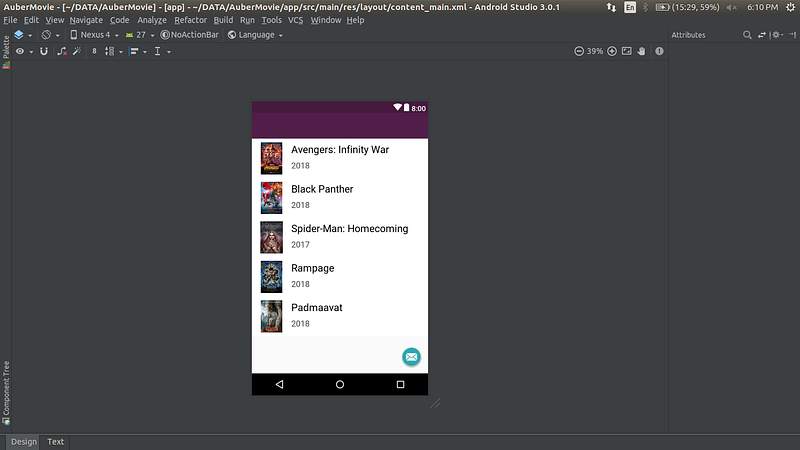
Finally, our RecyclerView now looks like this.
Cool right?
But did you figure out who was the lead actor(Hero) in this post. Yes, you caught it right. It was Tools Attribute.
So basically when you apply tools: attribute instead of android: in any view, you get to see it’s preview before actually running app.
There are loads of other usages of tools attribute which you can find it really helpful in day to day development task.
I highly recommend reading this official docs on tools attribute.
You can find full source code here.


