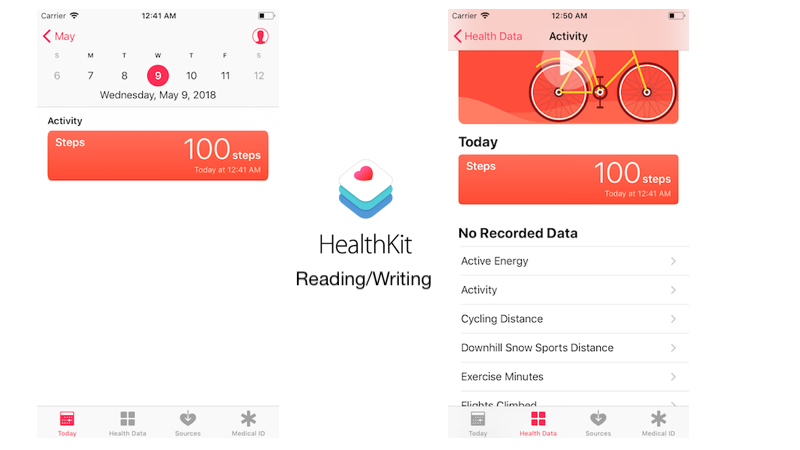
The blog is regarding Health application in iOS and how to read/write data from/to the Health application. We’ll see APIs of HealthKit framework.
We’ll see how can we read/write data from/to Health application.
1. Create Project in Xcode
2. Initial setup
3. Create Shared Manager (HealthKitManager)
4. Get Write Permissions
5. Write Data to Health Application
6. Get Read Permissions
7. Read Data from Health Application
8. Keep things in mind.
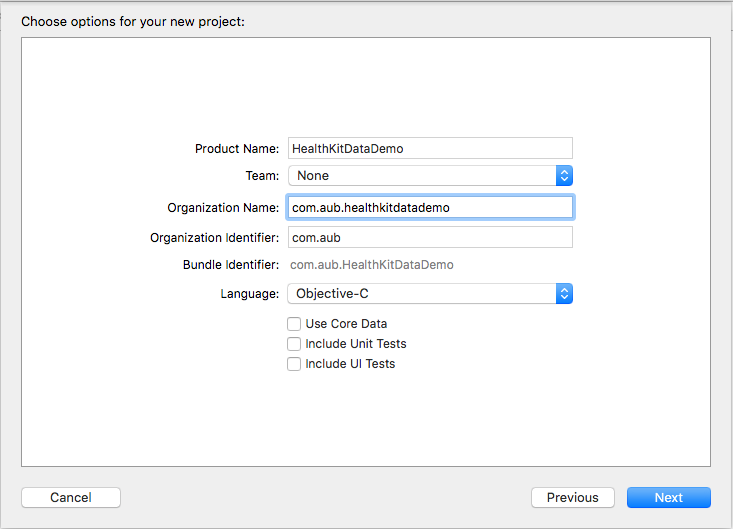
a. Add HealthKit Framework.
Select Target > Build Phases > Link Binary With Libraries > click ‘+’ > Type healthkit and add.
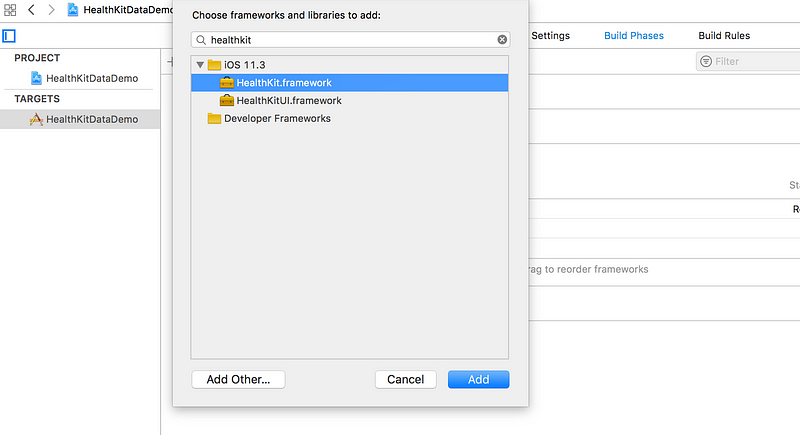
b. Before we go into code, we need to understand terms equivalent to read and write.
Read = Sharing Health app data with your app
Write = Update Health app data from your app
We need to give reason that why we want to read or write data from or to Health application.
So, provide description.
a. Need to set NSHealthShareUsageDescription for data reading
b. Need to set NSHealthUpdateUsageDescription for data writing.
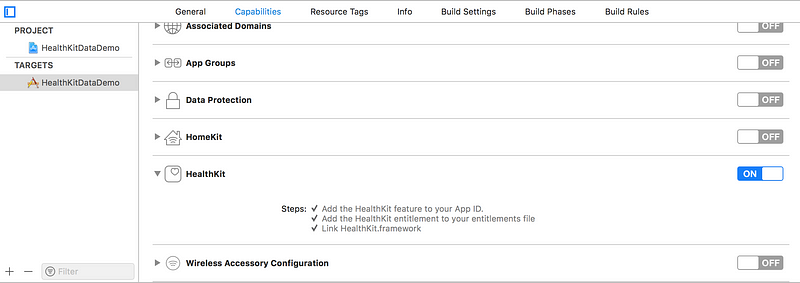
c. Enable capabilities for HealthKit. Select Project-Target > Capabilities > HealthKit.

Let’s create a shared class as Manager in which we’ll put our code.
Also read: Creating an Expandable Panel List in Flutter
See the function below, which will ask for permissions of writing Steps.
& declare a function in the header file. i.e. HealthKitManager.h
Also, Import HealthKitManager.h file in ViewController.m
Additional UI,
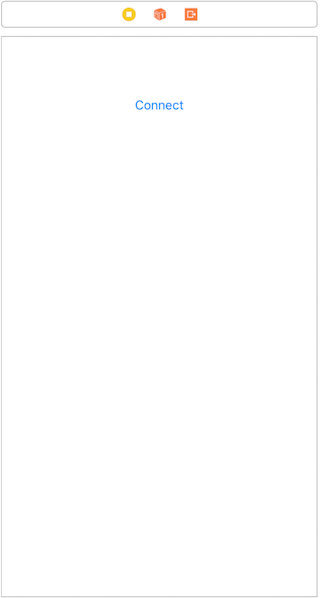
All is setup now, run the project… fingers are crossed !!!!
What would you see?: The Connect action.
What the action would do?: A modal will be presented which will ask for permission to write Steps,
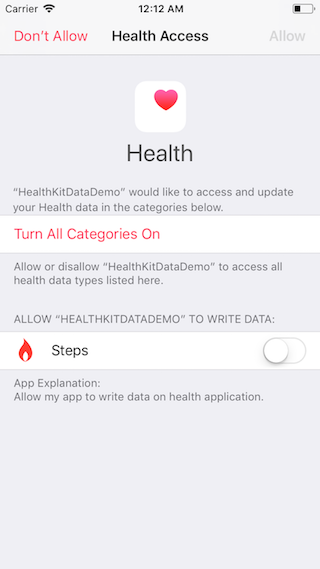
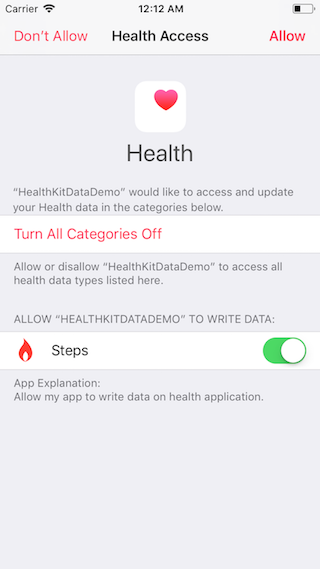
At the end of this step, your application is now authorized to write Steps to the Health application.
Please feel free to ask your queries, if you get any error/problem.
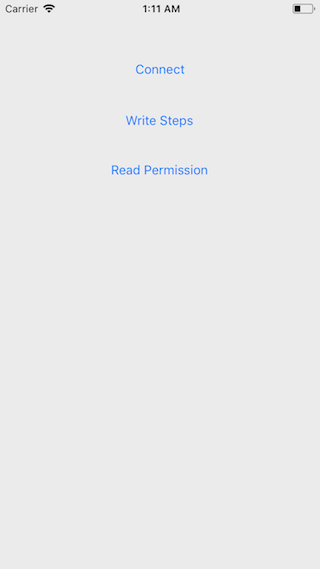
Remember, we already have permission for writing Steps that means we can also read them. So for a new activity type, we’ll get data reading permission for Cycling Distance from Health app.
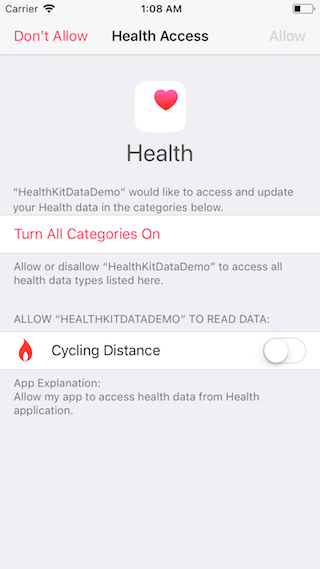
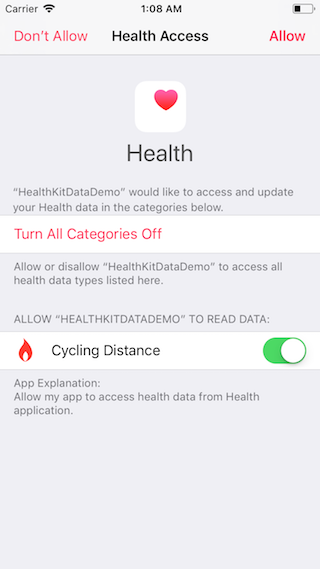
Also read: Step-by-Step Guide: Creating a Text Reader Animation in Flutter
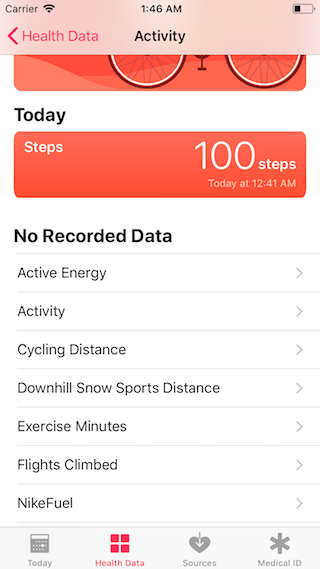
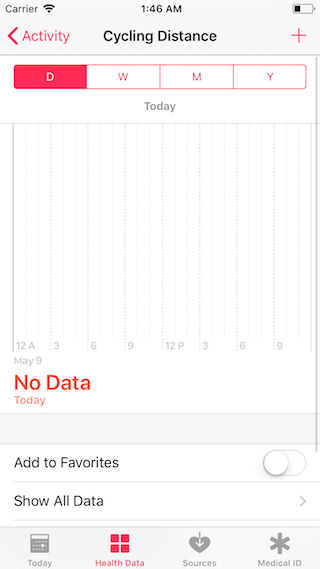
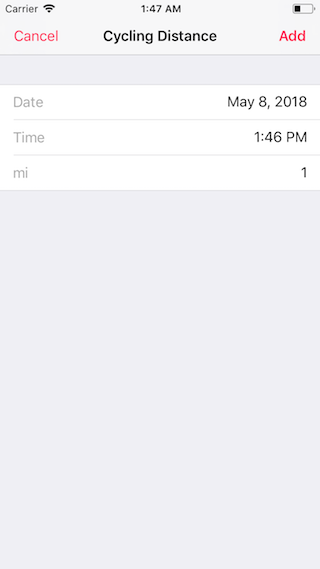
Let’s bind this value with the label on the screen.
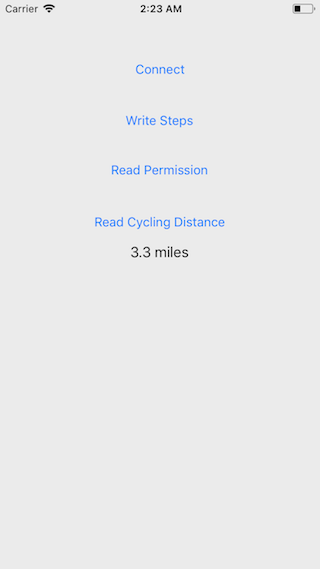
Please feel free to drop notes regarding your query and/or your valuable suggestions.
To explore the comprehensive project, visit the project’s GitHub repository.
Also read: Building an ARKit Measuring App: A Complete Guide
