In today’s data-driven world, the ability to manipulate and work with Excel spreadsheets programmatically can be a game-changer. Python, a versatile and powerful programming language, offers us the tools we need to automate Excel-related tasks with ease. In this tutorial, we will see a demonstration on how to use Excel sheets in the python using openpyxl.
Setup
Execute below command to install necessary python package.
pip install openpyxl
Create Excel sheet
# import Workbook
from openpyxl import Workbook

# create Workbook object
wb=Workbook()

# set file path
filepath="/home/ubuntu/demo.xlsx"

# save workbook
wb.save(filepath)
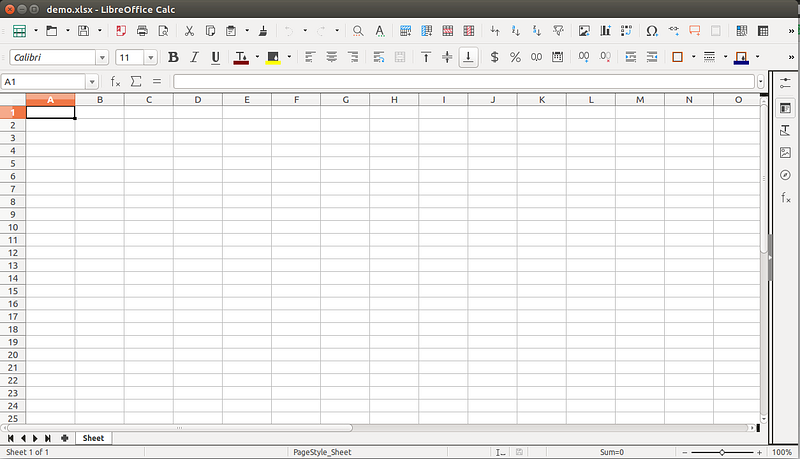
This will create a new excel file demo.xlsx.
Add data to the Excel sheet
Writing to a cell
# import load_workbook
from openpyxl import load_workbook

# set file path
filepath="/home/ubuntu/demo.xlsx"

# load demo.xlsx
wb=load_workbook(filepath)

# select demo.xlsx
sheet=wb.active

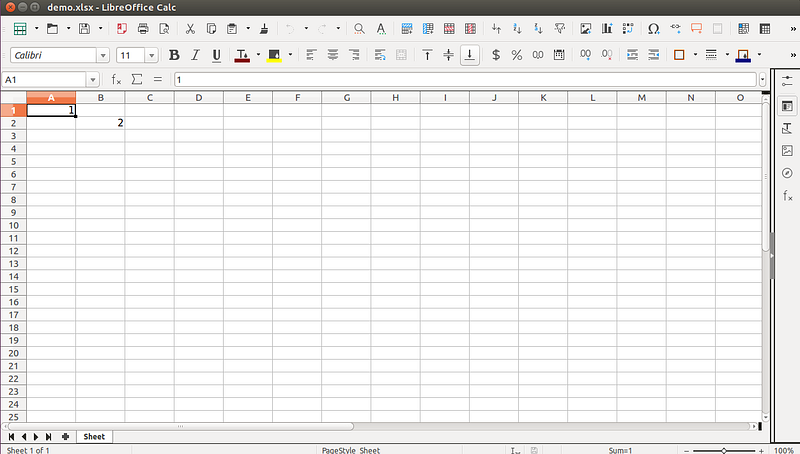
# set value for cell A1=1
sheet['A1'] = 1

# set value for cell B2=2
sheet.cell(row=2, column=2).value = 2

# save workbook
wb.save(filepath)
Appending group of values at the bottom of the current sheet
# import Workbook
from openpyxl import Workbook

# create Workbook object
wb=Workbook()

# set file path
filepath="/home/ubuntu/demo.xlsx"

# select demo.xlsx
sheet=wb.active

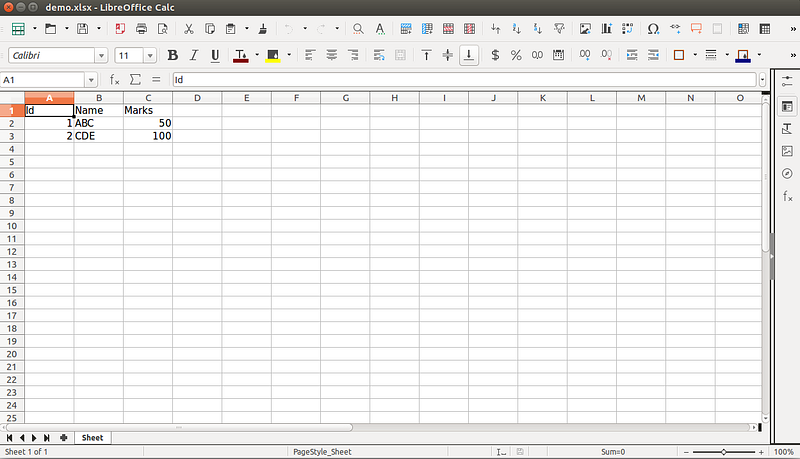
data=[('Id','Name','Marks'),
      (1,ABC,50),
      (2,CDE,100)]

# append all rows
for row in data:
    sheet.append(row)

# save file
wb.save(filepath)
Reading from an Excel sheet
Reading a cell
# import load_workbook
from openpyxl import load_workbook

# set file path
filepath="/home/ubuntu/demo.xlsx"

# load demo.xlsx
wb=load_workbook(filepath)

# select demo.xlsx
sheet=wb.active

# get b1 cell value
b1=sheet['B1']

# get b2 cell value
b2=sheet['B2']

# get b3 cell value
b3=sheet.cell(row=3,column=2)
# print b1, b2 and b3
print(b1)

print(b2)
print(b3)
Output of above code:
Name
ABC
DEF
Iterating by rows
# import load_workbook
from openpyxl import load_workbook

# set file path
filepath="/home/ubuntu/demo.xlsx"
# load demo.xlsx
wb=load_workbook(filepath)

# select demo.xlsx
sheet=wb.active

# get max row count
max_row=sheet.max_row

# get max column count
max_column=sheet.max_column

# iterate over all cells
# iterate over all rows
for i in range(1,max_row+1):

     # iterate over all columns
     for j in range(1,max_column+1):

          # get particular cell value
          cell_obj=ws.cell(row=i,column=j)

          # print cell value
          print(cell_obj.value,end=' | ')

     # print new line
     print('n')
Output of above code:
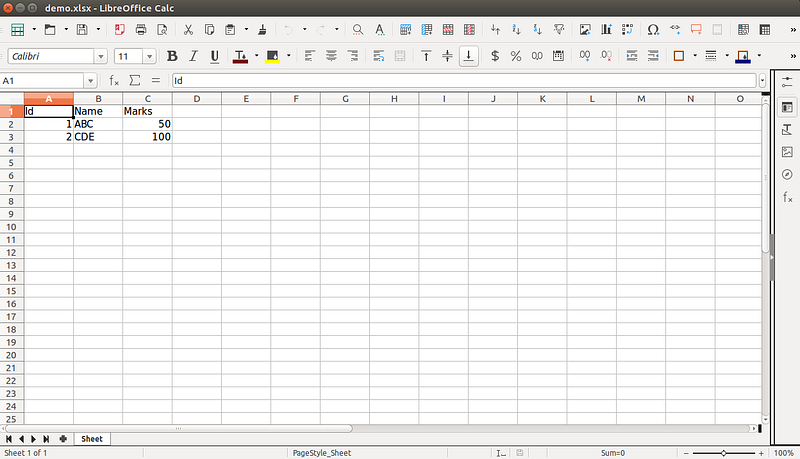
Id | Name | Marks |

1 | ABC | 50 |

2 | CDE | 100 |
Add sheet to the existing xlsx
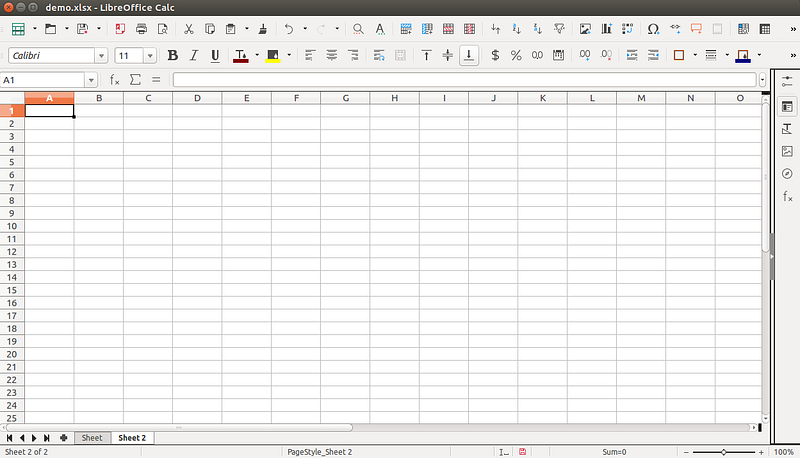
We can add Sheet 2 to demo.xlsx using below code.
# import load_workbook
from openpyxl import load_workbook

# set file path
filepath="/home/ubuntu/demo.xlsx"

# load demo.xlsx
wb=load_workbook(filepath)

# create new sheet
wb.create_sheet('Sheet 2')

# save workbook
wb.save(filepath)
Also read: Tutorial on Django Jenkins Integration for Django Project
Copy data from one sheet to another sheet
# import load_workbook
from openpyxl import load_workbook

# set file path
filepath="/home/ubuntu/demo.xlsx"

# load demo.xlsx
wb=load_workbook(filepath)

# get Sheet
source=wb.get_sheet_by_name('Sheet')

# copy sheet
target=wb.copy_worksheet(source)

# save workbook
wb.save(filepath)
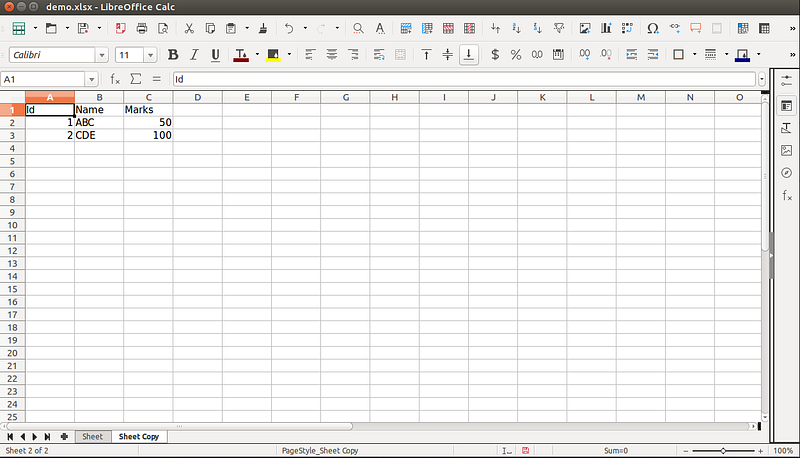
From above code create a new sheet with same data as Sheet.
Remove sheet from existing xlsx
We can remove Sheet 2 from the demo.xlsx using below code.
# import load_workbook
from openpyxl import load_workbook

# set file path
filepath="/home/ubuntu/demo.xlsx"

# load demo.xlsx
wb=load_workbook(filepath)

# create new sheet
wb.remove(wb.get_sheet_by_name('Sheet 2'))

# save workbook
wb.save(filepath)
Well, this is it! I hope you liked it.
Working with Excel sheets in Python using openpyxl opens up a world of possibilities for automating data-related tasks. We’ve explored essential operations such as creating and editing Excel sheets, reading data, and even managing multiple sheets within a single Excel file.
If you’re interested in leveraging Python for your software development needs, our python development services can provide you with tailored solutions to meet your specific requirements. Let’s get started!
Reference links:
https://openpyxl.readthedocs.io/en/stable/tutorial.html
https://zetcode.com/python/openpyxl/
Also, take a look at this informative blog post on Enhancing Security with Two-Factor Authentication in Django Admin Panel.


